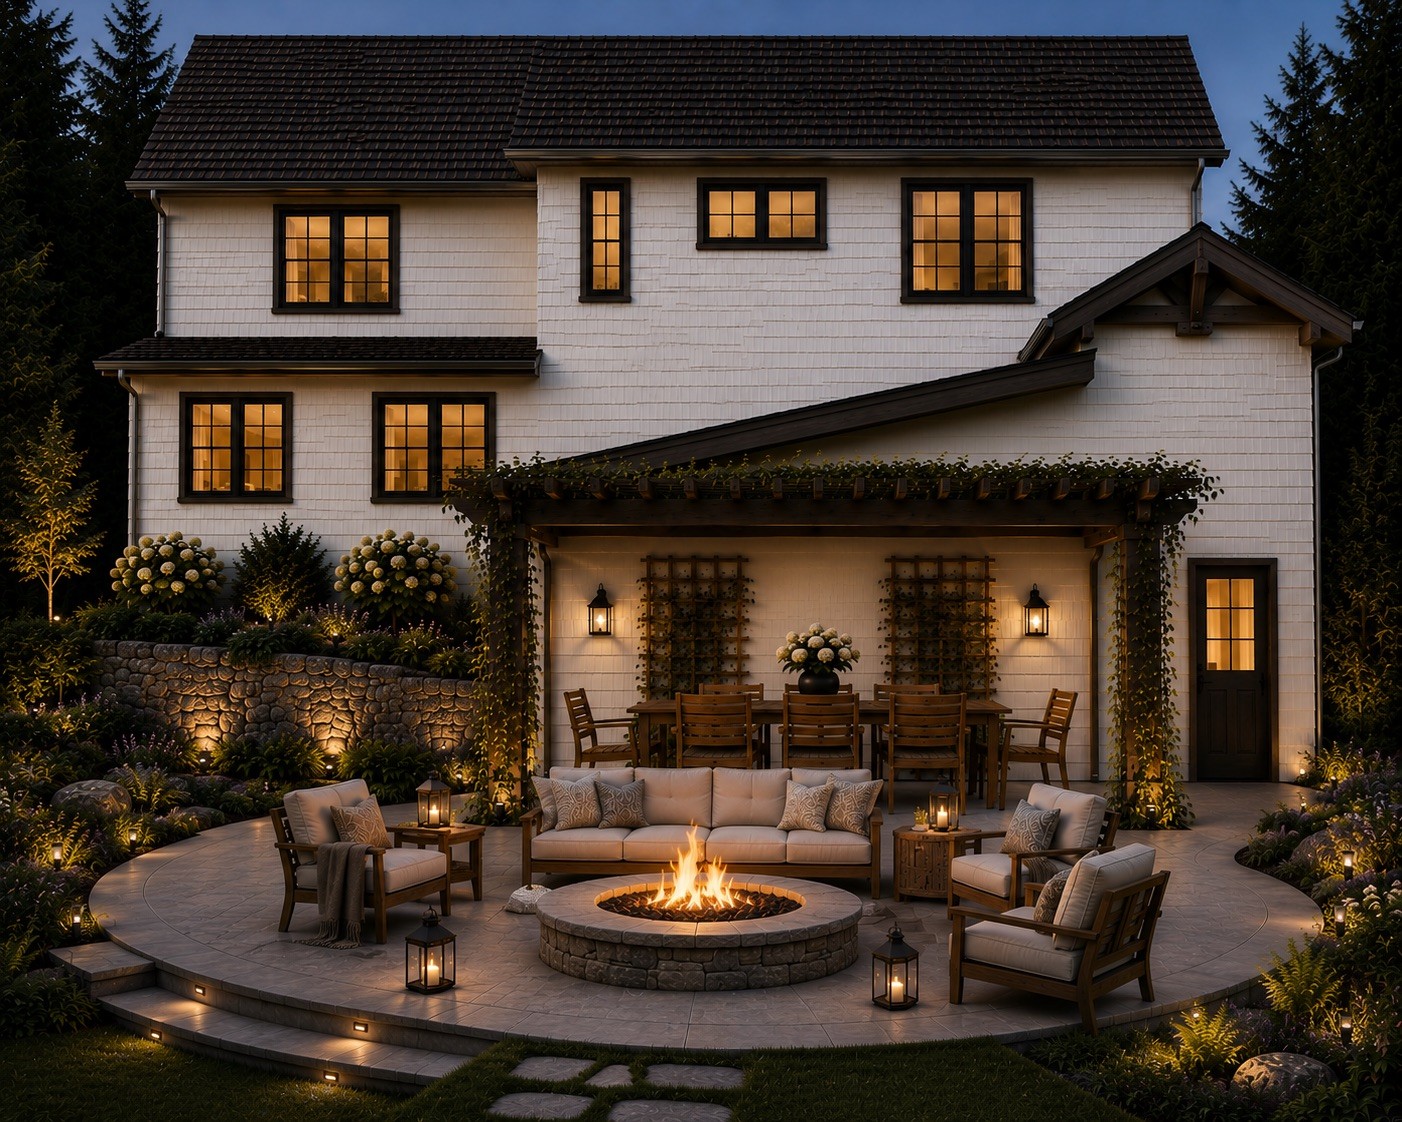
When we first walked through this house with our realtor in 2017, I remember saying the tiny tuck-under garage wasn’t a big deal. We’ll just add a garage someday, I said.
Fast forward nine years of parking on the street, hauling kids and car seats over snowbanks, hauling Costco loads through the rain and snow, and enduring more icy slips than I can count, and we’re finally turning that “someday” into reality.
Why It Took Nine Years
Looking back, there wasn’t just one reason we waited. Life was busy. We were raising four kids, working full time, renovating other parts of the house, and managing rental properties. Just as importantly, we weren’t ready. We hadn’t yet figured out exactly what we wanted from the space, and taking on a project of this size felt intimidating. Over the years, we learned new skills, gained confidence, and developed a much clearer vision for how we wanted the garage to function. Eventually, we reached the point where it felt like now or never.
One unexpected benefit of waiting was that we had nearly a decade to learn how we actually used our house. Instead of simply adding a place to park our cars, we could rethink how the entire space functioned. One of the first changes we made after moving in was converting the old breakfast room into a mudroom, which has been a huge improvement for keeping four kids organized. But we still found ourselves short on storage for sports equipment, gardening supplies, seasonal items, rental supplies, and all the other bulky things that come with raising four kids and managing rental properties. We wanted the garage addition to solve those problems too.
But honestly, the thing at the very top of my wish list was fixing our trash and recycling setup.
We generate a lot of trash and recycling, and our current system isn’t really a system. When the kitchen bins are full, we carry everything through the hallway, down the stairs, through the laundry room, through the tuck-under garage, and out to the driveway. More often than not, the bags end up sitting at the top of the stairs until a few have piled up because, by the end of the day, we’re exhausted. It’s a small annoyance, but one we’ve dealt with almost every day for the last nine years. It may sound like a strange place to start a garage addition, but it ended up driving the entire layout.
The Design Challenge: Garage Elevations
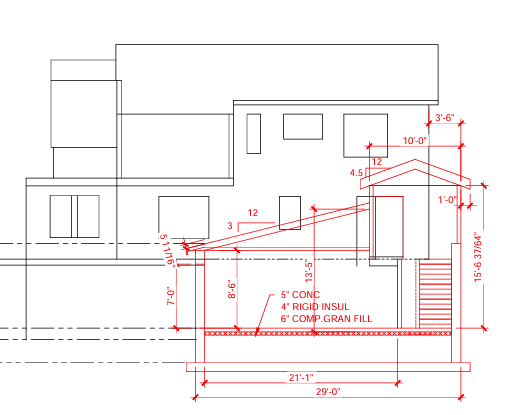
First and foremost, we had to figure out the garage elevations. We wanted the connector to meet the house at the existing mudroom door, while keeping the main garage roof below the current main-floor windows. We also wanted to use asphalt shingles rather than a more expensive metal roof, which meant working with a 3:12 roof pitch instead of a lower-slope metal roof.
The challenge was that we could only lower the garage floor so much. We still needed enough elevation to maintain proper drainage away from the house. Once we had the site and topographic survey, we spent weeks playing with different finished floor elevations and rooflines, trying to keep the design as simple as possible while making everything work. After what felt like endless iterations, we landed on a front gable that steps down to a shed roof. It kept the roof below the existing windows, maintained proper drainage, and was relatively straightforward to build.
Once that was settled, the interior layout came together.
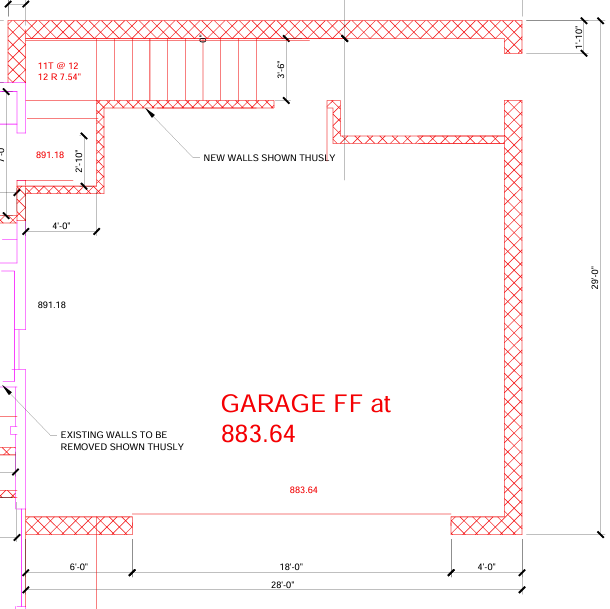
We pushed the stairs against the back wall to maximize parking space, but widened them to 42 inches so they would feel more open than a typical basement staircase. At the bottom of the stairs, we bumped the wall out an extra 24 inches to create room for a run of cabinets and countertop. It will serve as a work area for gardening, packages, and projects, but also as a buffet when we’re entertaining outside.
And finally…the trash.
There was no way I wanted to carry bags down an entire flight of stairs every time the kitchen trash filled up. So we’re planning trash chutes just inside the connection between the house and the garage. The details are still being worked out, but if we can make it happen, it’ll eliminate one of our biggest daily frustrations.

Next Steps
With the layout finalized, the next challenge is figuring out all of the details that make it work. In Part 2, I’ll cover the heating, electrical, drainage, and other infrastructure decisions that went into the design. Then in Part 3, I’ll walk through the exterior design, including the retaining walls, driveway, landscaping, and material selections that tie the whole project together.